•
Create your first model
If it’s not running yet, open Reves DSE. After you open Reves DSE, the start page is shown. From here you can open recent models and projects, access the help documentation, browse for existing models and projects and create a new empty model.
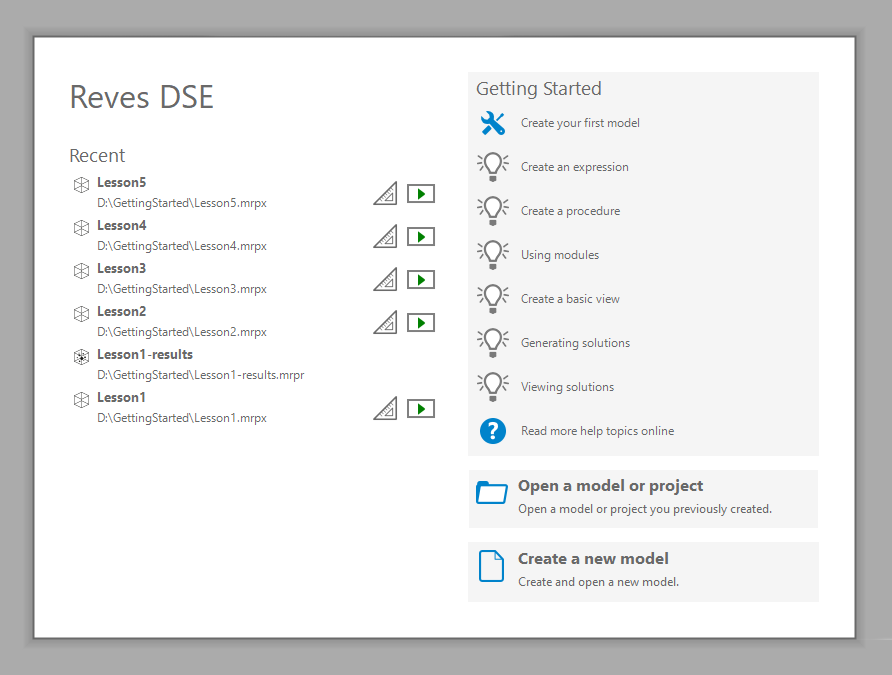
Reves DSE uses models and projects to organize the knowledge, views and results. A model contains all the knowledge to perform calculations and the views to provide input and show calculation results; a project contains just the calculation side. To create your model, first, you create a new Reves DSE model.
•
Creating a new model
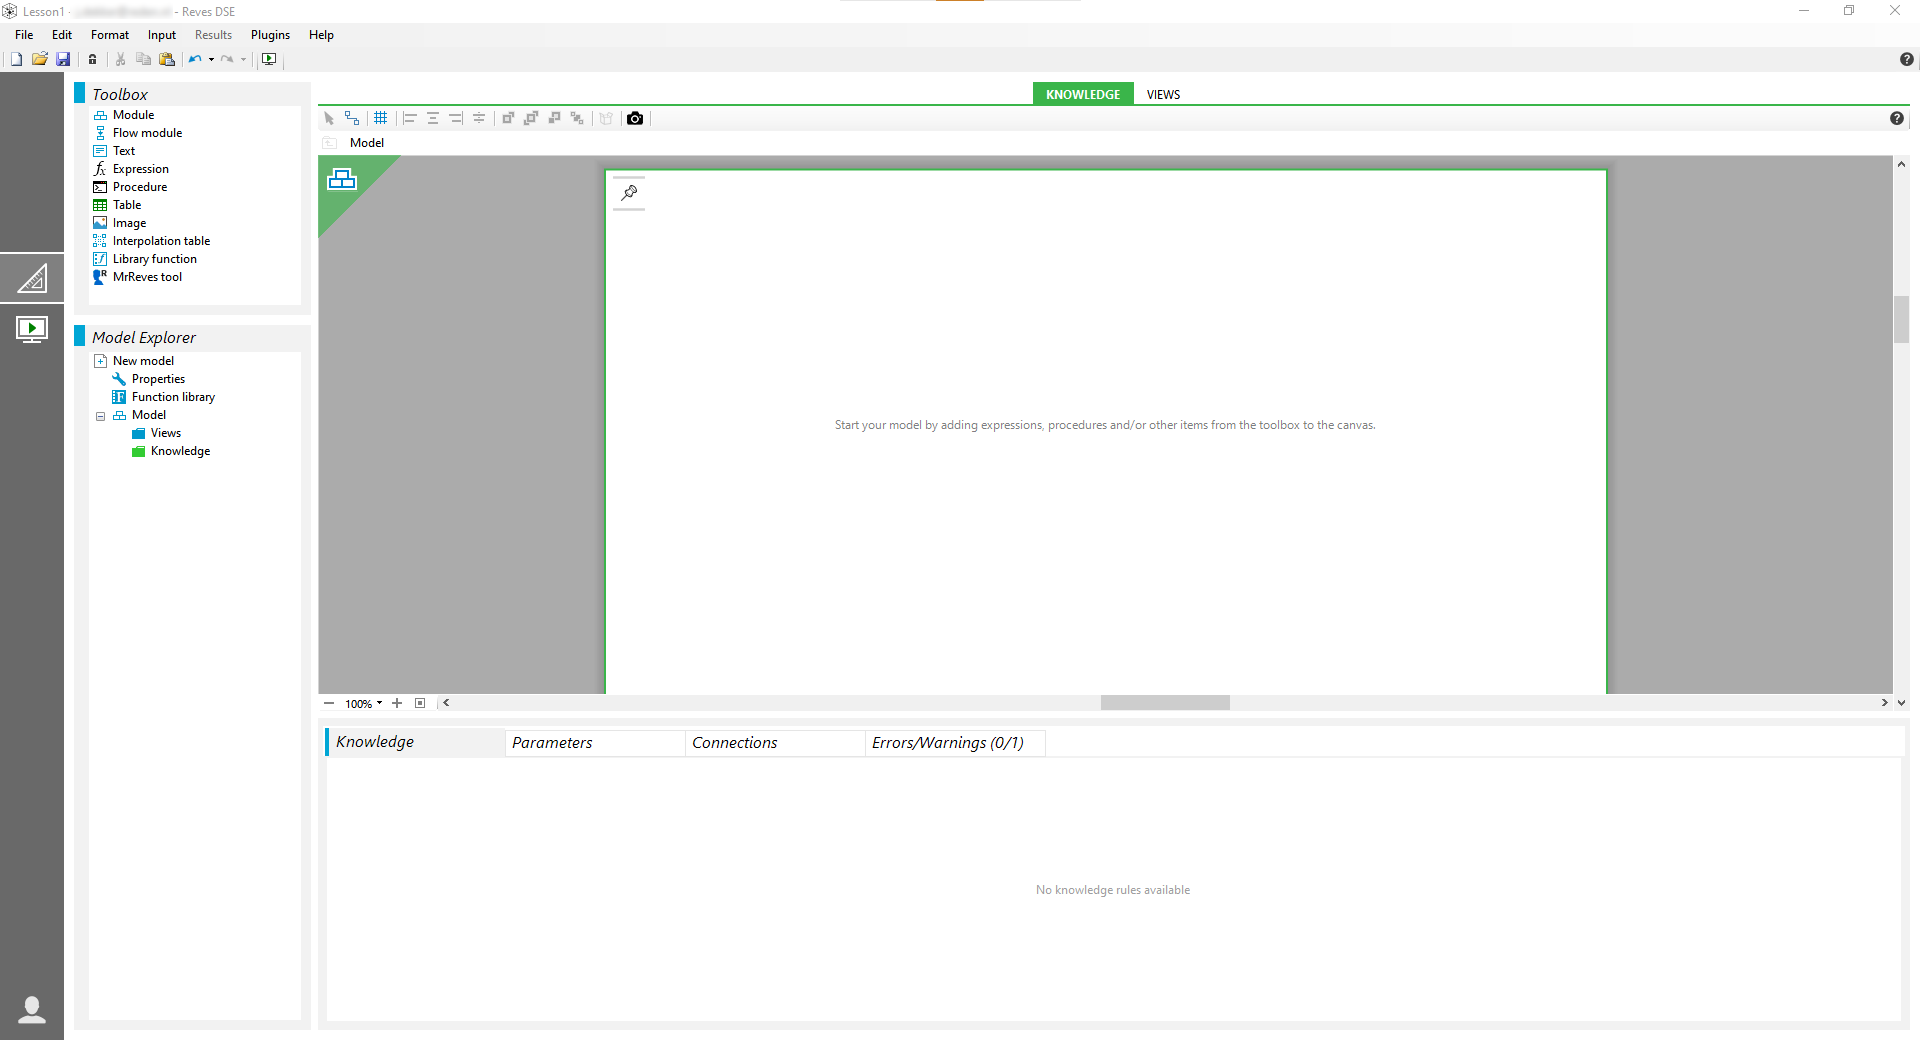
Click Create a new model on the start page, or select File, New from the menu. A new model is created and opened in the design environment. You will see the basic parts of Reves DSE application: navigation bar, menus and toolbars, toolbox, model explorer, the design canvas area and the editor panel. When you load a model, the model will be displayed in the design canvas area and the Model Explorer panel shows the structure of the model for easy navigation. The model can be expanded by adding elements from the toolbox, and those elements can be edited in the editor panel.
•
Creating a simple model
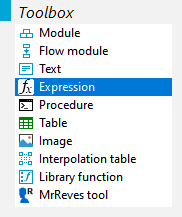
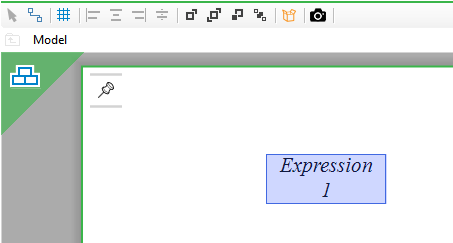
You can create your model by adding expressions, procedures and other items to the canvas. First, add an expression: select the expression item in the toolbox and drag it on to the design canvas. Once you drop the item on the canvas, a representation of the new expression is draw there. Initially you just see the expression name, because you still have to type the expression.
You can type the expression in the knowledge editor at the bottom of the screen. This editor automatically opens when you add an expression, but can also be accessed by double-clicking an existing expression, or right-clicking it and choosing Edit from the shortcut menu. The knowledge editor is context sensitive in that it will show a different editor for different knowledge elements.
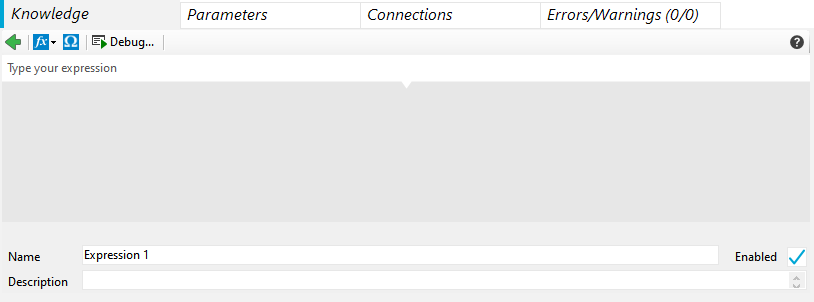
The expression editor consists of three main areas. The main item is the expression input field in which you can type your expression. Below that is the graphical representation of the expression (that is, if it can be resolved. If not, the latest valid state of the expression is show in red). At the bottom is a field to set the name of the expression. This name is used to help you identify the expression in the model.
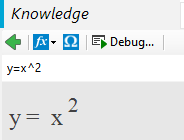
For your first model, you will create the simple expression by typing y = x^2 in the expression input field. As you type, you will see the expression being updated below the input field, as well as on the canvas. Hit enter of click anywhere on the canvas to commit the new expression. Notice that the editor panel now displays a list of the available expressions.
•
Start calculation
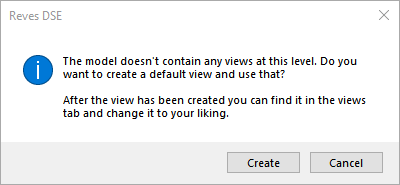
Now your model contains an expression, you can start a calculation to explore the design space of your simple model. There are many ways to start a calculation, but for now we use the calculation mode button ![]() in the navigation bar on the left side of the screen. After you click this button, you will get a message asking you whether you want to create and use a default view for your calculation. A view is necessary for you to provide input for a calculation and to show the results of that calculation. In later lessons, you will learn how to create and use your own custom views, but for now you can click Create to use the default view.
in the navigation bar on the left side of the screen. After you click this button, you will get a message asking you whether you want to create and use a default view for your calculation. A view is necessary for you to provide input for a calculation and to show the results of that calculation. In later lessons, you will learn how to create and use your own custom views, but for now you can click Create to use the default view.
The screen switches from the design environment to the calculation environment and the newly created view is opened on the calculation canvas. The calculation environment is the other main screen of Reves DSE. This is the place where solutions can be calculated and where you can see the design space.

This screen contains some new parts, compared to the design environment. The design canvas is replaced by a similar looking calculation canvas. To the right of that is the parameter information panel that will show detailed information about a parameter selected on the calculation canvas. Above the canvas is a row of tabs, that represent the available solution sets in the model or project for this particular view. You can use these tabs to create a new empty solution set and to navigate between existing sets.
The default view you created, contains three elements on the canvas. A green input field that can be used to provide input for the calculation, a gray output field that will display the parameter values of a solution in a set, and a solution explorer that can be used to select the different solutions once they have been generated. Their use will become easier to understand once you have generated some solutions. Click the play button ![]() in the toolbar to generate your first 100 solutions (the number of solutions is controlled by the dropdown list next to the start button). A progress animation is shown in the bottom right corner of the screen, and, once the calculation is complete, the calculation canvas is updated with the new solutions.
in the toolbar to generate your first 100 solutions (the number of solutions is controlled by the dropdown list next to the start button). A progress animation is shown in the bottom right corner of the screen, and, once the calculation is complete, the calculation canvas is updated with the new solutions.
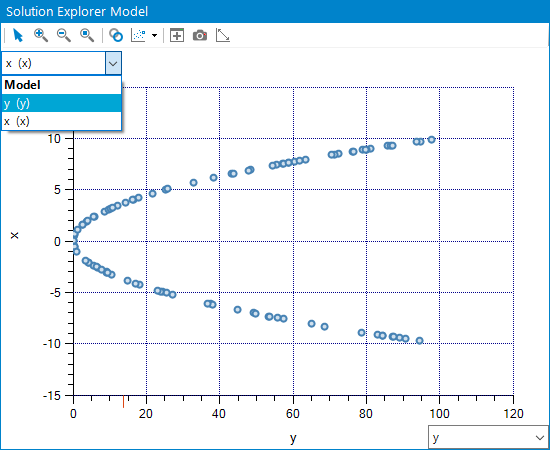
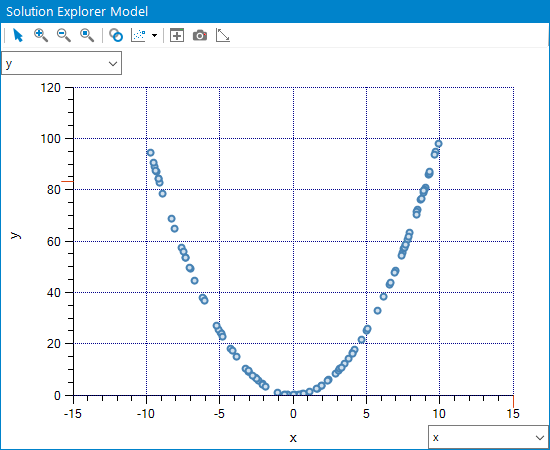
You may have noticed that the x and y parameters are not are not on their correct axis. This is easily understood, when you think about the way you typed your expression. Parameter y precedes parameter x in the expression and it is therefore created first. The default view simply places the first parameter on the x-axis and the second on the y-axis. To get the familiar parabola shape, you can change which parameter is shown in which axis, by selecting the desired parameter in the axis dropdown list.
 |
 |
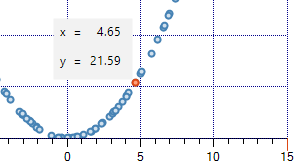
If you select a point in the solution explorer, a popup will appear with the x and y values of the selected solution. Also, the output field is updated with the details of the selected solution.
 |
 |
The model you have created and used in this lesson may be simple, but you have already seen some of the features you can use to build much more complex models. These features and other new ones will be the topic of further lessons. Save this model so you can reference it in later lessons.
For now, congratulations on completing this first lesson!